Open up a new document, I used 400 by 400, but a good background is between 800x600 and 1024x768. It's up to you.
Step 2
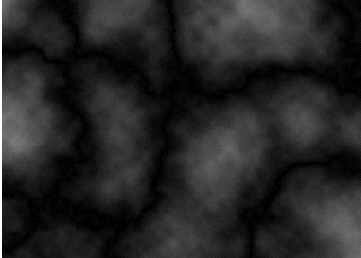
Make sure your colors are reset by pressing D on your keyboard. Go to Filter>Render>Clouds. Now go to Filter>Render>Difference Clouds. You should have an image now that looks similar to this:
Step 3
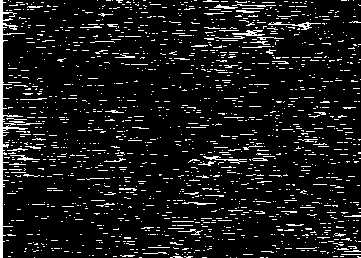
Now we're going to create some lines to morph into the zoom effect. Go to Filter>Pixelate>Mezzotint, click on the drop down box and select Short Lines. Your image should now look similar to the following:
Step 4
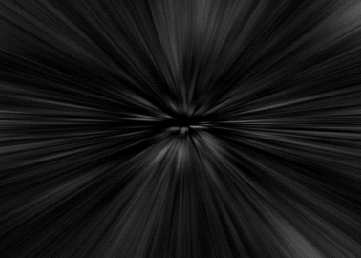
Now we're going to actually make the nice looking zoom effect. Go to Filter>Blur>Radial Blur. Use these settings:
Amount: 100
Blur Method: Zoom
Quality: Best
Now hit Ctrl+F on your keyboard to repeat this step to smooth it out. Your image will now look like:
Step 5
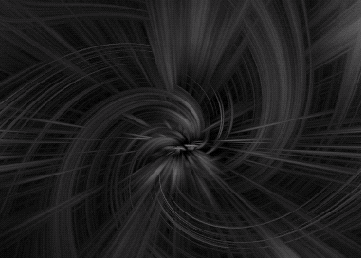
Now we're going to make some twirls to make it look more complicated. Duplicate your layer and go to Filter>Distort>Twirl. Use 200 as the amount. Next, duplicate the bottom layer and use Filter>Distort>Twirl again but using -200 as the amount. Set both of these layer modes to Lighten:
Step 6
It looks quite boring, so we're going to add some color. On your top layer hit Ctrl+U on your keyboard to bring up the colorize box. Hit the checkmark next to Colorize and mess around with the settings.
Step 7
Repeat step 6 on your other two layers using different shades of the same color with a little variation. You can mess around with different colors and see what you like best. You now have a nice zoom effect for a background.
Step 8
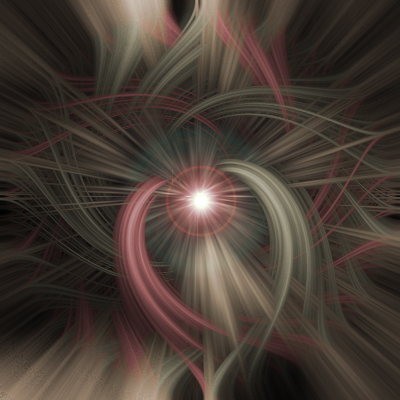
This step is optional, go to Filter>Render>Lens Flare and add a 35mm Prime lens flare in the middle of your image. Add some text if you’d like and you’re done. Here’s my final image:
No comments:
Post a Comment