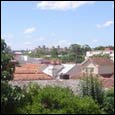
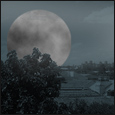
1. Open your image, we used a landscape, where there are trees and houses.
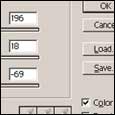
2. Click Image > Adjust > Hue/Saturation - and give the following settings. (tick colourize box, hue 196, saturation 18, lightness -69)
3. Click Layer > new > Layer - and name it moon
4. Make a rather large selection, using the eliptical marquee tool, holding SHIFT after you started the selection to make it perfect
5. Press D to reset your colours
6. Now, Filter > Render > Clouds
7. Selection > deselect (CTRL + D) to deselect the selection
8. Now, Edit > Transform > free transform (CTRL +T) and make the moon smaller to your size you want.
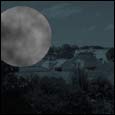
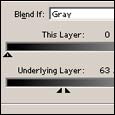
9. Layer > Layer style > Blending options - and just below, right at the bottom... you will need to play with the bottom settings (underlaying layer) to seperate the triangle, hold ALT and drag them apart.
10. Next, Layer > New > Layer - and call it glow
11. Grab a brush.... around size 18, and with a light grey as your foreground colour, run your brush left to right a few times
12. Filter > Blur > guassian blur - to around... 14px
13. Now, lower the opacity on the layer to around 25-40%
No comments:
Post a Comment