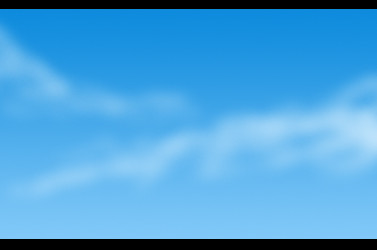
1) Is quite simple. On the sky part of your pic, make a new layer for your clouds and then pick a color out of the color pallette box and make it an
off-white with a hint of your sky color.
Once you do that, take the airbrush tool and put the flow/pressure to 50% while using a somewhat large brush size and lightly airbrish some cloud outlines.
Be sure to focus the outlines at the top parts of the clouds and gradually outline less the closer you get to the bottom of your cloud.
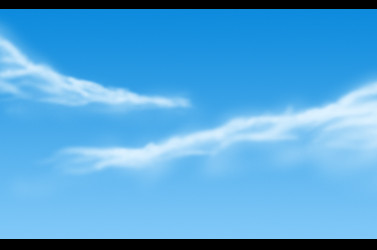
2) Is where you begin to define the shape of your clouds. Make a new layer on top of your cloud outline layer for defining the outline with bolder lines. Keep your airbrush at 50%
pressure/flow but make your
brush size smaller so you can make
more detailed and crisp lines.
Lightly go over your cloud outlines to start defining your cloud shapes while focusing mainly towards the top with a few whisps drifting towards the bottom.
If you want to make your clouds more blurry than they are, you can use a filter on them to blur em' to your desire.
"Gaussian blur" works well for that.
If you like them how they are,
don't blur them.
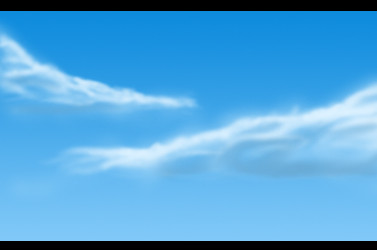
3) This step can actually be optional if you like your clouds without shading
at the bottom. The clouds in step 2 could probably pass as finished clouds as well, but to shade your new clouds, make a new layer for shading and make a color that is a darker blue than the sky with a hint of grey in it. You don't want it to be too dark or else it will be too
overpowering. Keep your aribrush at
50% flow/pressure and use a medium sized brush. Go down to the bottoms of your clouds and lightly add some shadows while working your way to the mid-section of the clouds. Be sure not to go overboard with the shading. There you have it! on
No comments:
Post a Comment